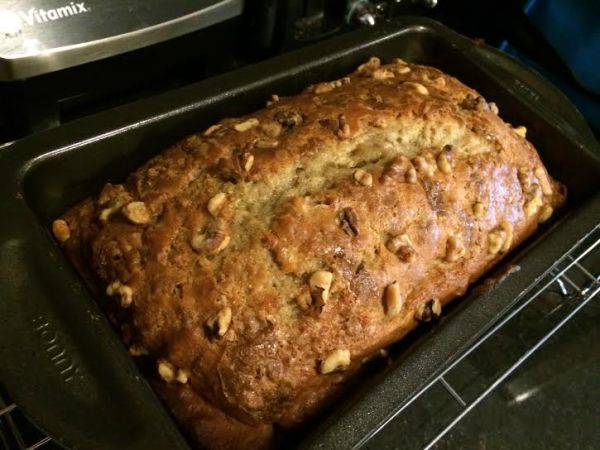
Spiced Banana-Nut Bread

I have not blogged since March! Hello blogging world!

I have been very busy these last few months, as many of you who know me personally already know. I studied for and took the GMAT, I applied to business school, and I started a part time business school program all while working full time. To say I have been busy is an understatement. In order to keep my sanity, I have had to give up a few things–one of them being updating this blog on a regular basis.

I am still cooking like crazy (can’t go without that!), but I don’t have the time to post meaningful thoughts about the recipes I would like to share and I think just posting a recipe is a little bit boring.

Next week I have finals so naturally, here I am, procrastinating. I thought it would be a perfect opportunity to update my blog. Even though I should be studying…shh don’t tell.

Tonight I made banana bread. Wow, this sounds boring already. “Andi, people make banana bread all of the time and it is like the easiest thing in the world to make so why are you sharing this when last weekend you made chocolate souffles and that is so cool and you should be sharing that?” (this is the inner dialogue I imagine you to be having with me right now)

Well, it just so happens that this banana bread is the BEST I have ever made or eaten, and I have made and eaten a whole lot of different types of banana bread. I have two main issues with banana bread:

1) It tends to be lacking in flavor
2) It tends to be dry

So, I decided to get creative. I thought about all of the banana breads I have made in the past and what I liked or didn’t like about them. And OH MY GOODNESS the results! To add more flavor and texture, I added nuts and cinnamon. To make the bread more moist, I added a little greek yogurt.

unnamed

You have got to make this bread. If nothing else, it’s a great way to procrastinate from life responsibilities.

Spiced Banana-Nut Bread
Makes 1 loaf

Ingredients:

2 cups all-purpose flour

3/4 teaspoon baking soda

1/2 teaspoon kosher salt

1 cup sugar

1/4 cup butter, softened (pop it  in the microwave for a few seconds if you don’t have time to wait)

2 large eggs

3 large ripe bananas, mashed

1/2 cup chopped walnuts, plus more for topping bread before baking

1/2 tsp ground cinnamon

brown sugar, for sprinkling on top of bread

1/3 cup plain greek yogurt

1 teaspoon vanilla extract

cooking spray

Preheat oven to 350.

Combine flour, baking soda, salt, and cinnamon into large bowl. Mix thoroughly with a whisk.

Place sugar and butter in bowl of a stand mixer, and beat at medium speed until combined, about 1 minute. Add eggs, one at a time, beating each time to blend. Add the bananas, yogurt, and vanilla. Beat until blended. Add flour mixture and then beat on low until just combined. Stir in walnuts.

Pour into loaf pan coated with cooking spray. Sprinkle top of loaf evenly with brown sugar and chopped walnuts (this makes the crust nice and crispy but the inside remains moist and delicious).

Bake until knife comes clean out of center, 40-70 minutes. Be sure to monitor the loaf and check its readiness often within this 40-70 minute time frame. You do not want to overcook the bread!

Cool in pan for 10 minutes and then remove from pan and place on a wire rack to cool completely. If you’re really nice, give someone who you love very much the center-most piece while it is still warm and butter it too. Oh yes. This is heaven. And, by the way, after doing this you can put the  two ends back together to keep the inside moist! Brilliant!
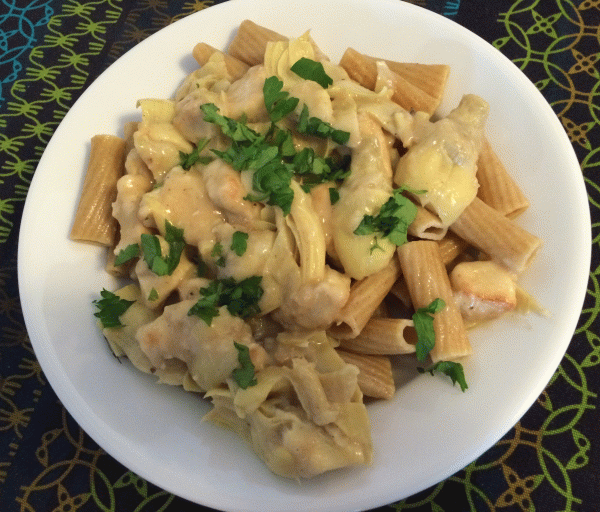
Chicken and Artichokes in a White Wine Sauce

I have been very busy lately (and will hopefully continue to be if things go well), so my posting may sadly not be as frequent on here. Tonight I made a very simple pasta dish for dinner and it really hit the spot so I wanted to share the recipe.

It is important to use a good bottle of wine for the sauce. I am not talking like a $30 bottle, but do not use Franzia or Woodbridge or any of that stuff. I’m talking a  $13ish bottle-something you would actually want to drink. I am a red wine person myself, but if I have to drink white wine it has to be good.

photo (6)

Chicken and Artichokes in a White Wine Sauce

Serves 4

Ingredients:

2 15 oz cans artichoke hearts, drained and sliced in half

2 tbsp unsalted butter (divided)

2 tbsp extra virgin olive oil (divided)

2 boneless skinless chicken breasts, sliced into 1 inch cubes

1.5 cups all purpose flour

1 teaspoon kosher salt

Freshly ground black pepper

2 cups good, dry white wine (I used chardonnay)

Half a lemon

Pasta to serve (I used whole wheat rigatoni, cooked al dente)

Flat-leaf parsley, chopped (optional)

Heat large frying pan to medium high heat. Add 1 tbsp of butter and 1 tbsp of olive oil to pan. Add artichokes and cook until just starting to brown, about 5 minutes. While artichokes are cooking, Put flour in medium sized bowl and add salt and pepper. Mix in chicken pieces and coat in the flour. Once finished cooking, remove artichokes from pan to plate.

Add remaining butter and olive oil to pan. Using hands or a slotted spoon, remove chicken pieces from flour and line up in a single layer in the pan. Cook until chicken is browned on both sides, about 5 minutes. Add artichokes back to pan. Stir in wine and using a wooden spoon, scrape up any browned bits from the bottom of the pan. Simmer sauce until thickened, about 8 minutes.

Add a few squeezes of lemon to the sauce and serve over pasta. Top with fresh flat-leaf parsley, if desired.

Adapted from the kitchn

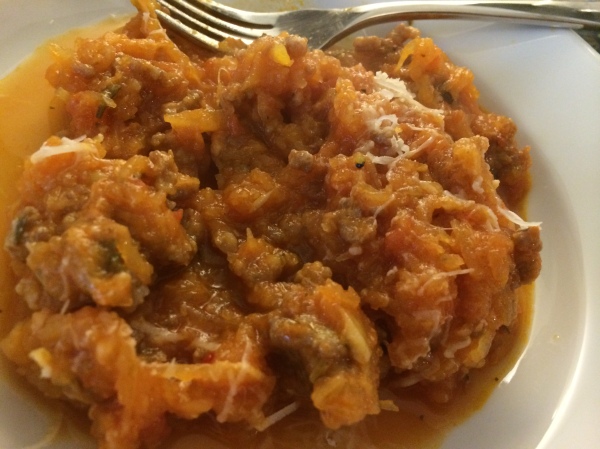
Roasted Spaghetti Squash Arrabiatta with Spicy Italian Sausage and Pecorino Romano

photo 4 (1)

I have been a little bit obsessed with squash lately. I have no shame in admitting that I could eat squash more than 5 times a week and be incredibly thrilled. I don’t think my husband would be as thrilled, so I try to keep dinners as squash inclusive a maximum of once per week (but of course I sneak squash into my lunches when Casey isn’t around 🙂 ).

photo 1 (2)

The truth is–Casey loves squash now just as much as I do. He and I both have been very skeptical, especially, about spaghetti squash. How is it possible to use a squash to simulate a noodle and how is it possible for the squash to be as tender as pasta? I’ve made spaghetti squash a few times now and it has often not come out successfully–mainly because I do not cook the squash long enough and it ends up resulting in crunchy, chewy (not pasta-like) strands.

photo 2 (1)

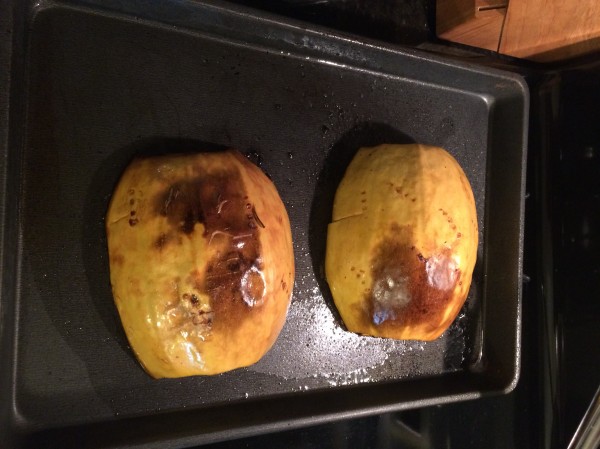
If you have yet to fall in love with spaghetti squash, this recipe will accelerate the process. I found that roasting the squash at high heat for quite a while and roasting flesh side down is the best way to get those soft strands that you crave when you want to eat a bowl of pasta. I promise you that this spaghetti squash tastes AS GOOD as regular pasta! I love when healthy tastes good yayy!!

photo 3 (1)

Roasted Spaghetti Squash Arrabiatta with Spicy Italian Sausage and Pecorino Romano

Serves 4

Ingredients:

1 spaghetti squash

extra virgin olive oil

kosher salt

freshly ground black pepper

garlic powder

8 oz spicy italian sausage

24 oz jar of arrabiatta sauce (or any tomato sauce that sounds good)–I love the kind by Racconto

1 cup (or more or less to taste) freshly grated pecorino romano

Preheat oven to 450.

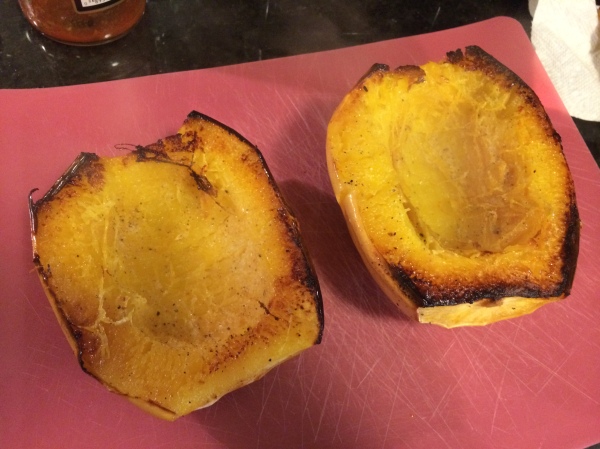
Pierce spaghetti squash all over with a fork. Microwave on a plate for 5 minutes. Remove and when cool enough to handle, slice squash in half lengthwise and scoop out innards. Liberally sprinkle olive oil, kosher salt, pepper, and garlic powder inside both sides of squash and rub in with fingers. Place squash skin side up on baking sheet and cook for 40 minutes.

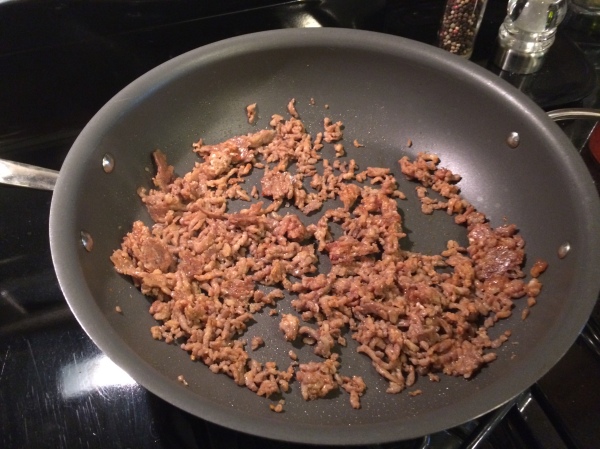
While the squash cooks, brown sausage in deep skillet with a little olive oil. Once sausage is cooked, add arrabiatta sauce and mix with sausage. Mix in cheese, salt, and pepper to taste.

When squash is cooked and has cooled enough to handle, scoop out squash strands and mix together with sauce in skillet. 

Serve with extra cheese on top, if desired.

Butternut Squash Spaghetti alla Carbonara

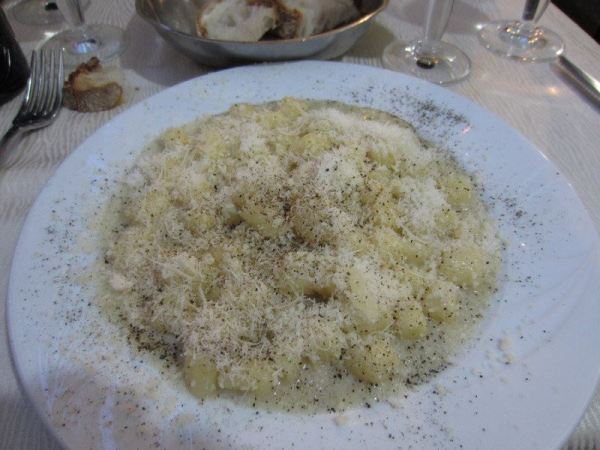
When Casey and I visited Italy on our Honeymoon my very favorite part of the trip was–you guessed it–the food!!!

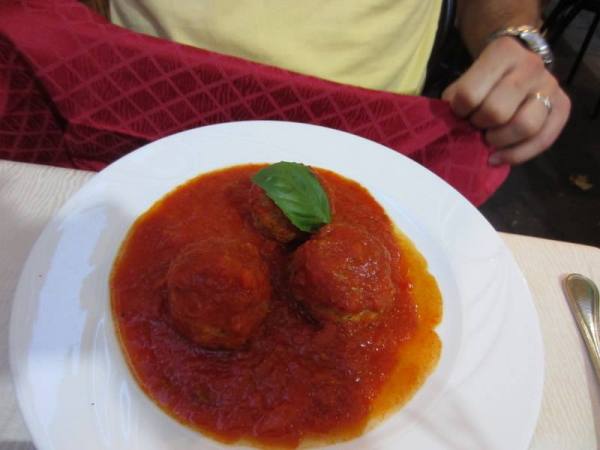
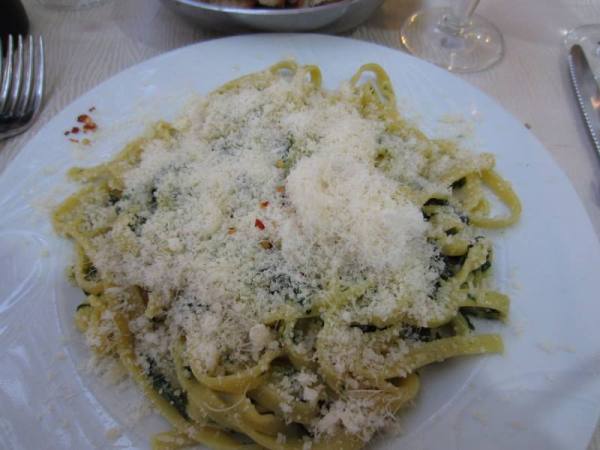
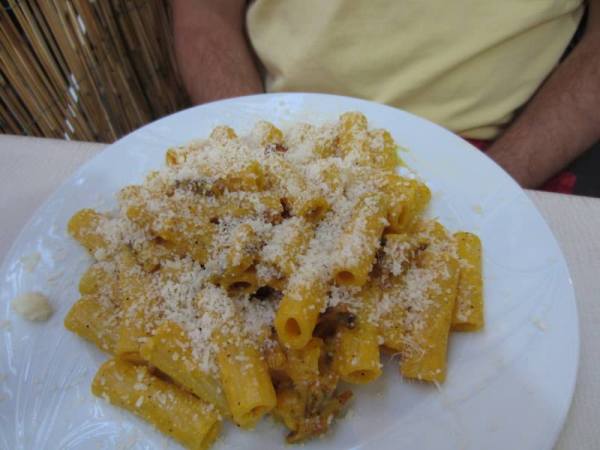
One night in Rome we dined at this hole in the wall restaurant with no tourists in sight (well, except us). We ordered course by course because we were taking our time and really enjoying the slow pace of the meal. After our first pasta course, we had planned to next order a meat dish. However, the pasta we had was so good that we continued to order more pasta dishes. I think the server thought we were a little bit crazy because Casey even ordered a pasta course for his dessert. But this pasta was THAT good. Oh and let’s not talk about that meatball that Casey spilled on his yellow polo and had to wear for the rest of the night because we were nowhere near our hotel. As the person who was given the nickname “the spiller” growing up, I get a lot of pleasure when the spill is not my doing. So that was pretty hilarious and fun for me. 🙂

pasta 4 pasta 1 pasta 2 pasta 3

Okay so what does all this have to do with this pasta dish that could absolutely positively never be as good as the magic pasta we consumed in Italy? Well, the Italy pasta was amazing but oh so very far from healthy. I gained about 10 lbs on our honeymoon and I had no regrets when I got home. However, pasta served with sauce made from egg yolk and cream is not a food you should have on your daily (or really even weekly) menu. These are splurge items and oh yes I do splurge (probably a little bit too much), but I like to try to find healthy substitutes for the unhealthy flavors to enjoy on a regular basis.

ENTER BUTTERNUT SQUASH.

photo 2

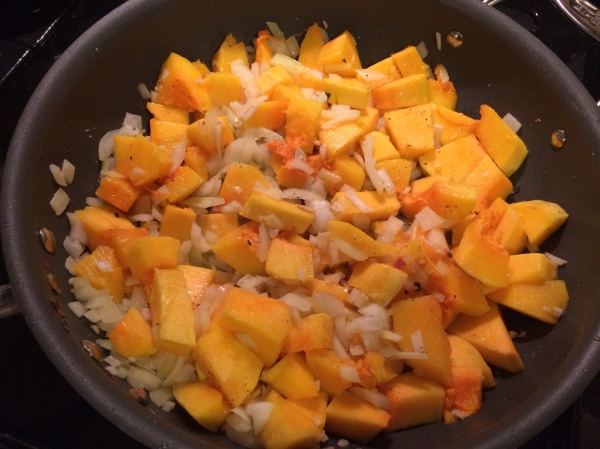
I found this recipe in Bon Appetit magazine and my mind was blown. How in the world can a recipe made with pureed butternut squash as the sauce taste as good as a dish made with eggs and cream? Now THIS is magic!

photo 3

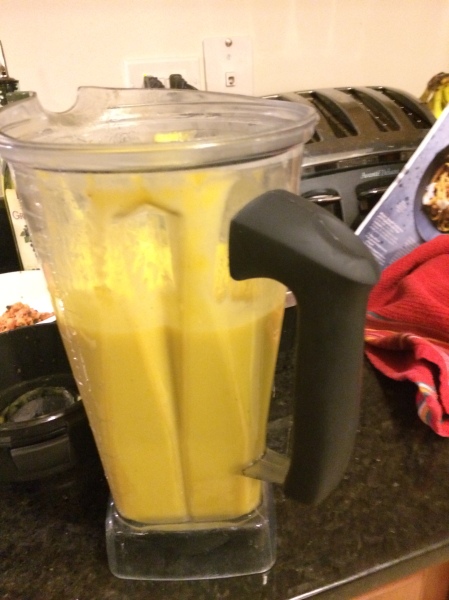
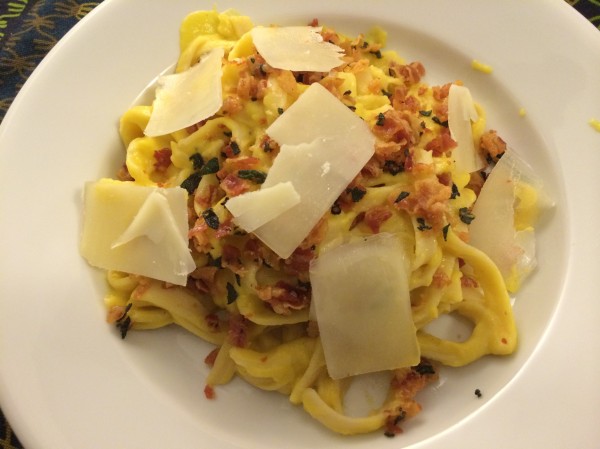
This dish is wonderful (and for some reason it tastes even better the next day). The pureed squash creates a creamy, velvety texture akin to a very fatty sauce. But actually, you are eating a very healthy vegetable! This would be a great recipe to use to sneak in veggies for a family meal with young children. It’s also great for those of us who already love veggies!

photo 4

If you are health conscious and a pasta lover, make this! It is astonishing how something so healthy can taste so darn good.

Butternut Squash Spaghetti alla Carbonara

Recipe courtesy of Bon Appetit

Makes 4 servings

Ingredients:

2 tbsp olive oil

4 oz. pancetta, chopped

1 tablespoon finely chopped fresh sage

1 2-lb. butternut squash, peeled, seeded, cut into ½” pieces (about 3 cups)  (I like to microwave my squash whole for about 5 minutes to soften the squash and make it easier to cut)

1 small yellow onion, chopped

2 cloves garlic chopped

Kosher salt and freshly ground black pepper

2 cups low-sodium chicken broth

12 oz. fettucine or linguine

¼ cup finely grated Pecorino, plus shaved for serving

Heat oil in a large skillet over medium-high heat. Add pancetta, reduce heat to medium, and cook, stirring occasionally, until crisp, 8–10 minutes. Add sage and toss to coat. Using a slotted spoon, transfer pancetta and sage to a small bowl; set aside. Add squash, onion, and garlic to skillet; season with salt and pepper and cook, stirring occasionally, until onion is translucent, 8–10 minutes. Add broth. Bring to a boil, reduce heat, and simmer until squash is soft and liquid is reduced by half, 15–20 minutes. Let cool slightly, then purée in a blender until smooth; season with salt and pepper. Reserve skillet. Cook pasta in a large pot of boiling salted water, stirring occasionally, until al dente. Drain, reserving 1 cup pasta cooking liquid. Combine pasta, squash purée, and ¼ cup pasta cooking liquid in reserved skillet and cook over medium heat, tossing and adding more pasta cooking liquid as needed, until sauce coats pasta, about 2 minutes. Mix in ¼ cup Pecorino; season with salt and pepper. Serve pasta topped with reserved pancetta and sage, shaved Pecorino, and more pepper.

Buffalo Chicken Pizza with Blue Cheese Crumbles

Any of you who know me well know that I am NOT a sports fan. It isn’t that I don’t like sports. It’s just that I absolutely do not have the patience or attention span to watch a sports game.

photo 4

HOWEVER

photo 1

I will never say no to watching a sports game on TV or going to a sports game in person. Why you may ask? When I never have a clue what in the world is going on in the game and I tend to cheer at the wrong moments and boo at the wrong moments? When I choose a team to root for based on which costume I like best? Yes, I did just call it a costume. It is also a performance, not a game. And intermission is that time when we are halfway between the beginning and end of the game. But I digress…

photo 2

I LOVE SPORTS BECAUSE I LOVE FOOD!!!!!!!!!! So really, I don’t love sports. I just love the excuse sports give you to indulge in something delicious and greasy (the french fry portion of my green smoothie with a side of fries lifestyle).

photo 3

I made homemade pizza for the Super Bowl…YUM! I used this dough recipe-it seriously is the best-don’t buy store bought! I actually ran low  on bread flour, so I used AP flour instead and the result was still delish. The dough only takes an hour to rise so it really isn’t too big of a time commitment. And even better, you can prepare the toppings while you wait for the dough to rise so there really is hardly any wait time at all.
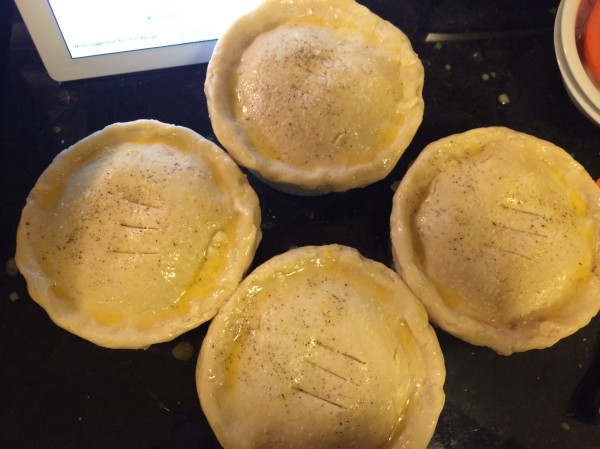
photo 4

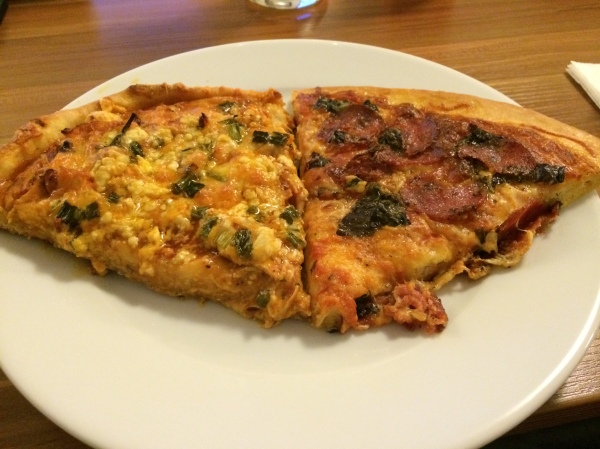
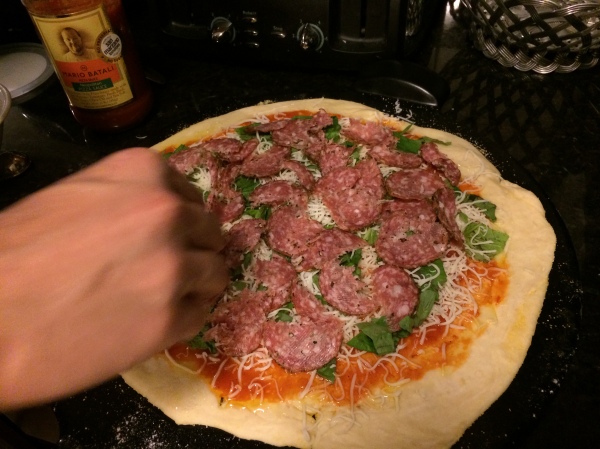
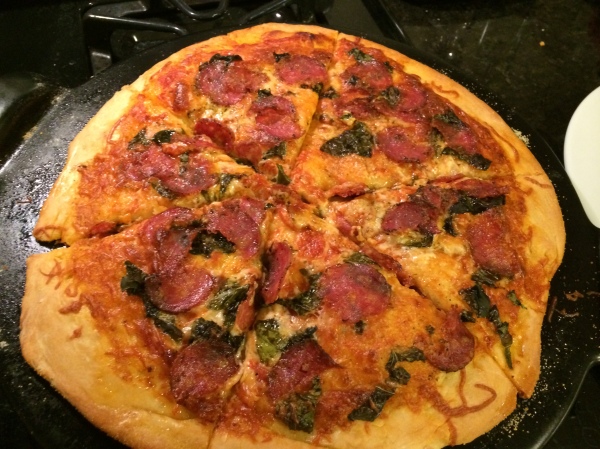
I made two pies-one traditional with pizza sauce (store-bought), fresh basil, herbed salami, and mozzarella (pictured).

photo 5

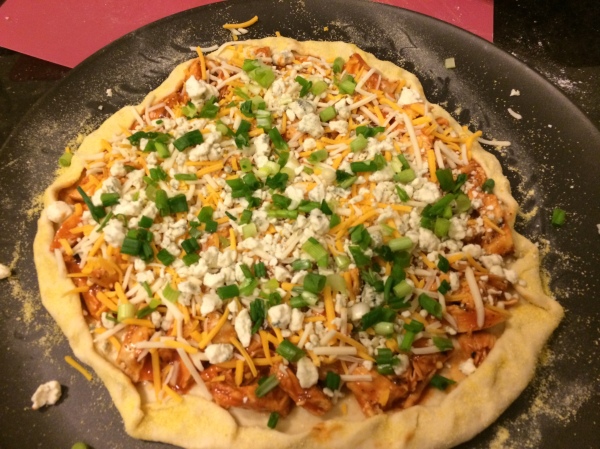
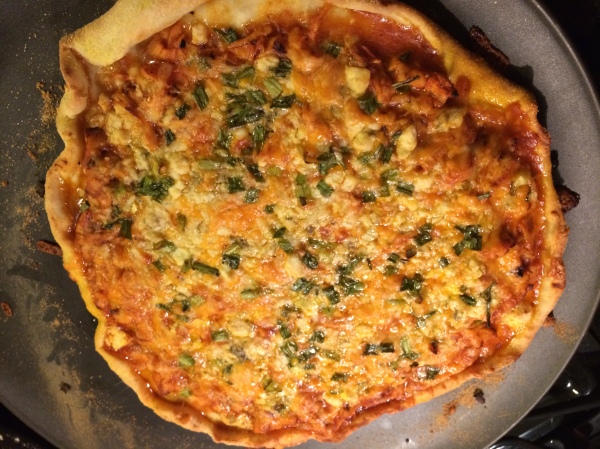
I also made a buffalo chicken pizza (also pictured) and I will share the recipe for that here. My husband and I are not typically huge buffalo chicken fans but this pizza was AMAZING. Not too spicy but spicy enough to really entice your taste buds. And the blue cheese on top perfectly complemented the buffalo sauce. It was also fairly easy to piece together! Highly recommend!
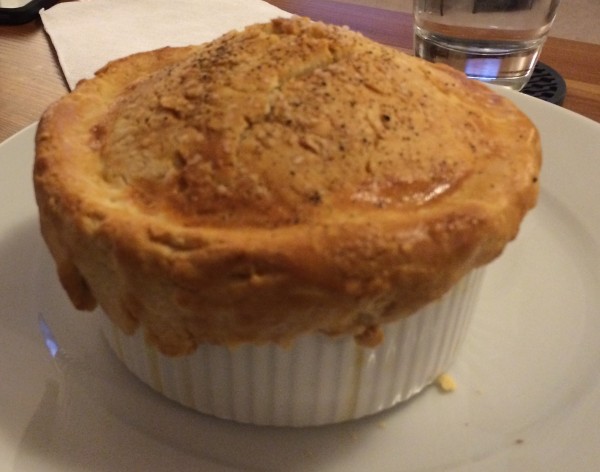
photo 1

photo 2

Buffalo Chicken Pizza with Blue Cheese Crumbles

Adapted from Food Network

Makes: One pizza

Ingredients:

Prepared pizza dough for one 14 inch pizza (this measurement doesn’t need to be exact)

3/4 lb boneless skinless chicken breast, sliced extremely thin

McCormick Montreal chicken grill seasoning, for sprinkling

Extra Virgin Olive Oil, for sprinkling

Corn meal, for sprinkling  bottom of pizza pan

2 tbsp unsalted butter

1 tbsp worcestershire sauce

2.5 tbsp Frank’s Red Hot Buffalo Wing Sauce

1/2 cup tomato sauce

1/2 cup blue cheese crumbles

3 green onions, chopped

A few big handfuls (to your liking, depending on how much cheese you want) shredded cheese (I recommend a Monterey Jack and Colby blend)

Preheat oven to 425.

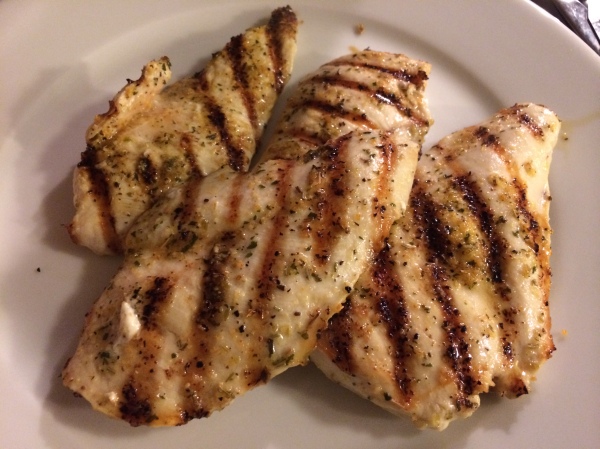
Preheat grill pan on high heat. Place chicken breasts on plate and drizzle with olive oil and sprinkle grill seasoning on both sides. Grill for 3 minutes per side, until fully cooked through. Remove to plate and let cool slightly.

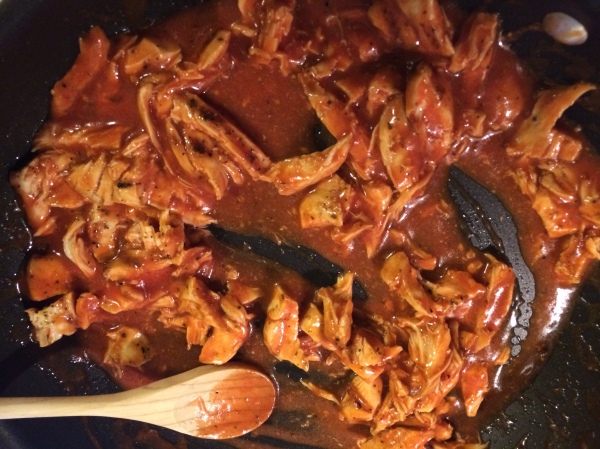
Melt butter in large skillet and then turn off heat. Mix in worcestershire, hot sauce, and tomato sauce. Slice chicken very thin and mix in with sauce in skillet. 

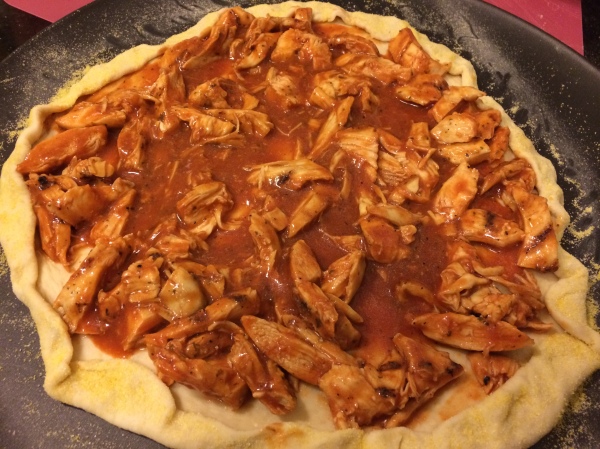
Sprinkle corn meal on pizza stone or baking sheet. Roll out pizza dough. Spread all the chicken with sauce across the base, leaving room for a crust. I folded over the crust to add some nice texture. Sprinkle desired amount of shredded cheese and blue cheese crumbles. Sprinkle with scallions. 

Bake in oven until golden brown, about 18 minutes.

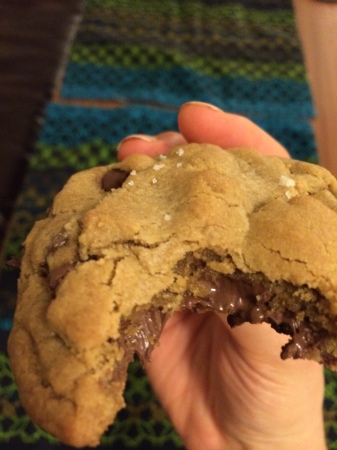
Browned Butter Chocolate Chip Cookies Stuffed with Nutella and Topped with Sea Salt

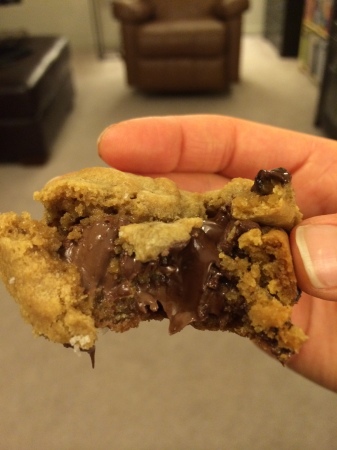
This cookie might be the best thing that has ever happened to me.

image_3

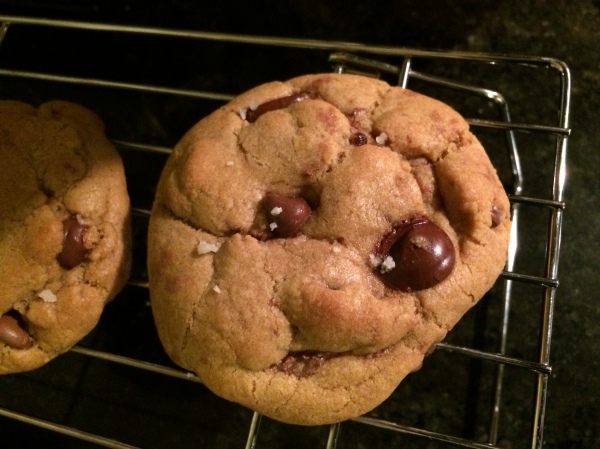
Yes, it is exactly as amazing as it sounds and looks.

photo

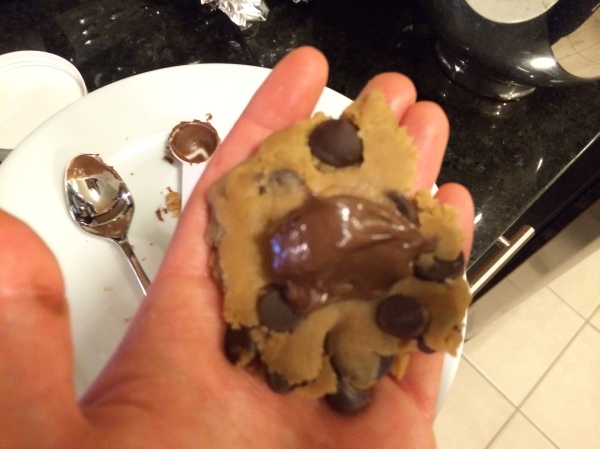
Be prepared to get messy when you make these, because they are not that easy to stuff-BUT IT IS SO WORTH IT!

image_1

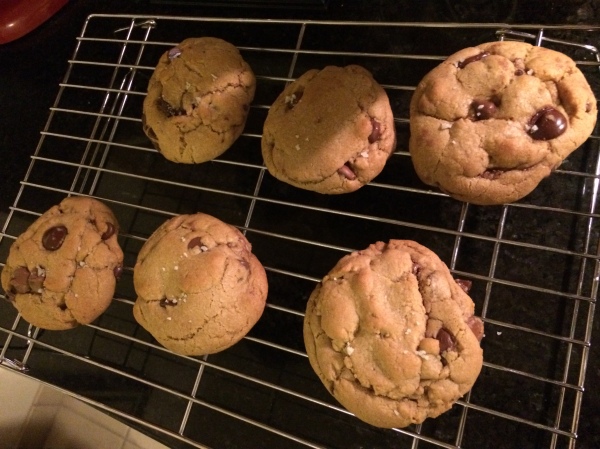
I found the recipe for these cookies here, and I changed around a few things to my liking. The results were unbelievable. Make these. And please do realize that they don’t have to look perfect because as long as you don’t burn em, they will taste great.

image

I love sweet and salty so much and I am OBSESSED with nutella. This cookie is all of the good things about sweets mixed into one baked good.

image_2

So gooey and chewy and mmmmmm!!!

Browned Butter Chocolate Chip Cookies Stuffed with Nutella and Topped with Sea Salt

Recipe from Ambitious Kitchen

Makes: about 18 palm-sized cookies

Ingredients:

2 1/4 cup all purpose flour

1 1/4 tsp baking soda

1/4 tsp kosher salt

2 sticks unsalted butter

1 1/4 cup dark brown sugar (packed)

1/4 cup white sugar

1 large egg plus 1 large egg yolk

1 1/2 tsp vanilla extract

1 tbsp plain 0% greek yogurt

3/4 cup semi-sweet chocolate chips

1/2 cup milk chocolate chips

1/2 cup bittersweet chocolate chips

1 jar nutella, refrigerated (cold makes it easier for stuffing)

Course sea salt

In a large bowl, whisk together flour, baking soda, and salt.

Melt butter in large saute pan over medium heat. Once melted, whisk constantly. Butter will begin to foam and then brown. Never stop whisking! As soon as butter has nutty aroma and begns to brown, remove from heat and immediately transfer to bowl. Set in refrigerator to cool for a couple of minutes.

Once butter is cooled mix butter and sugars with an electric mixer until blended. Add egg, egg yolk, vanilla, and yogurt and mix until combined. Slowly add the dry ingredients a little bit at a time and mix on low speed until just combined. Stir in chocolate chips.

Chill dough for two hours in the fridge.

Preheat oven to 350. Grab a handful of dough and flatten in your hand (as pictured). Place 1 tsp of nutella in the middle. With the dough in your hand, start squeezing your hand together to bring dough edges toward each other. There will still be a little nutella coming out of the top at this point. Grab a small additional piece of cookie dough and flatten and cover exposed nutella. Combine dough into ball and make sure no nutella is spilling out. If nutella is spilling out, add more dough to cover. The cookie dough ball will end up being fairly large-and that’s okay! I fit about 6 of these cookie dough balls on a sheet pan so I made 3 batches (18 total).

Bake cookies for about 14 minutes. This was the number that worked best for me, but it may be a different amount of time needed depending on the size of the dough balls and your oven. Be sure to monitor cookies and remove once edges just start to begin to brown. Once cookies are finished baking, immediately sprinkle with sea salt (a little goes a long way). Let sit on pan for 2 minutes and then remove to wire cooling rack. Repeat for remaining dough.

Filet Mignon with Rosemary and Browned Butter

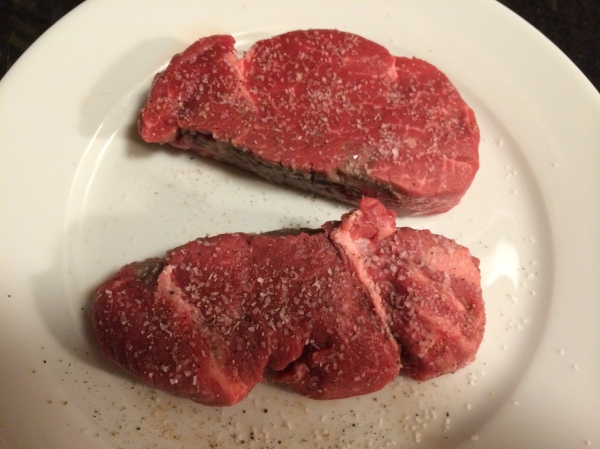
It is easy to cook steak, but it is hard to cook a really good steak.

image (3)

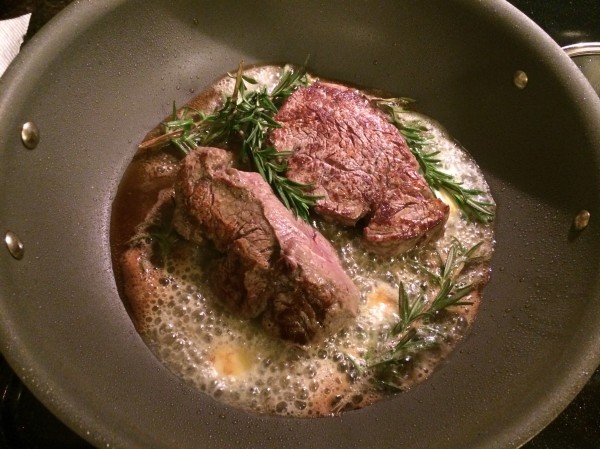
I have not spent a lot of time cooking steak, so a year or so ago when Casey requested steak for dinner I got a little bit nervous. I started researching on the web how best to cook steak at home. I ultimately decided to sear the steak and then bake it in the oven and the result was amazing. It probably has something to do with the fact that I used a whole lot of butter too. :):)

image (1)

This is more of a method than a recipe, and there is a lot of eyeballing involved. This steak comes out SO incredible. It is succulent, juicy, tender, perfect buttery herby flavor, deeelicious. Be careful not to overcook the steak!! With such a nice cut of meat rare is totally safe and fine to eat!

image (2)

Filet Mignon with Rosemary and Browned Butter

Ingredients:

Filet Mignon (about 5-8 oz per person, depending on hunger level)

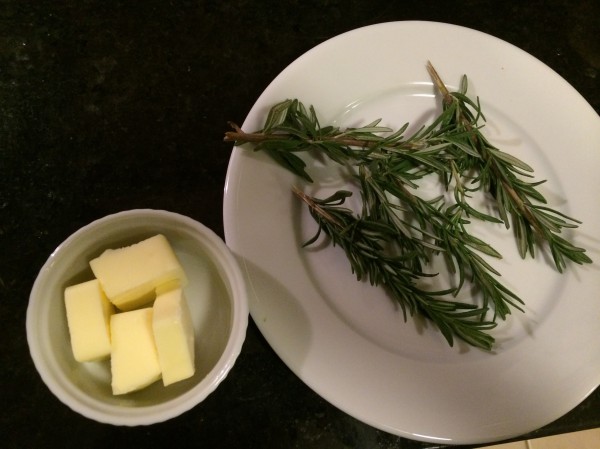
Butter (about 2 tbsp per filet, broken up into chunks to distribute throughout pan to surround steak)

Fresh rosemary (1-2 sprigs per filet)

Kosher Salt

Freshly ground black pepper

A few tablespoons of extra virgin olive oil

Remove steaks from fridge and generously salt and pepper both sides. Let sit 30 minutes at room temperature before cooking.

Preheat oven to 450.

Heat oven proof pan over high heat and heat olive oil in pan. Wait until pan is very hot and then add steaks to pan. IMPORTANT: Do not touch the steaks once they are in the pan!! Let steak cook for 2-4 minutes (depending on thickness) and turn over to cook on the other side. Only turn the steak once and do not move the steaks in the pan while they are cooking. During the last minute of the second side searing, add butter (dispersed surrounding all sides of the steak) and rosemary to the pan. Baste the steaks (using a spoon) with the herb butter.

The steak is either done now or you can move it to the oven to cook a bit longer. I like to cook the steak in the oven for a few more minutes. Use a thermometer to judge done-ness (130-145 for medium rare) or you can use the finger method as shown here. Whatever you do, DO NOT cut into the steaks! Also keep in mind the steak will continue to cook a bit as it rests. Remove steak from oven and continue to baste the steak with the herb butter in pan.

Once steak is done cooking, remove from pan and place on plate. Cover with foil and let rest for 5 minutes. 

Serve with herb butter (from pan) on top and enjoy! If you do it right, you will NOT need A1 sauce. 🙂


Pumpkin Doughnut Muffins

Is it possible to have too much of a good thing?

image_4

Absolutely not!

image_2 (3)

So let’s mix two amazing things together to make something incredibly awesome: muffins+doughnuts=moughnuts? No, that doesn’t really work. So we’ll just call them doughnut muffins.

image_2 (4)

These duffins (that doesn’t sound nice either…darn) are made with PUMPKIN. Need I say more.

image_3 (2)

I am sad because all of these babies are gone and I would really like to eat one right now.

OMG.

Pumpkin Doughnut Muffins

Recipe from I Want Crazy

Makes: 12 muffins

Ingredients:

For muffins:

1 1/2 sticks melted butter

3 cups all purpose flour

2 1/2 tsp baking powder

1/2 tsp baking soda

1 tsp kosher salt

1/2 tsp nutmeg

1/2 tsp cinnamon

1/3 cup buttermilk

1 1/4 cups pumpkin puree

3/4 cup light brown sugar

2 large eggs

For sugar coating:

3/4 cup sugar +2 1/2 tsp cinnamon (mixed together in shallow dish)

1 stick melted butter (in shallow dish)

Preheat oven to 350.

Grease and flour a muffin tin.

Whisk together flour, baking powder, baking soda, salt, nutmeg, and cinnamon in a medium bowl.

In a small bowl, mix together buttermilk and pumpkin.

In a large mixing bowl, beat butter and brown sugar until combined and light and fluffy. Beat eggs into mixture. Mix in the flour and the pumpkin mixture, alternating additions between bowls until combined.

Fill muffin tins and bake for about 23 minutes (could be shorter or longer, depending on your oven).

Cool for 10 minutes and then sugar coat by spooning butter over muffin and then dipping/spooning cinnamon sugar all over muffin.

Cool muffins completely on wire rack and then store in airtight container.

Individual Chicken Pot Pies

Chicken pot pie is the perfect cold weather comfort food.

image_2

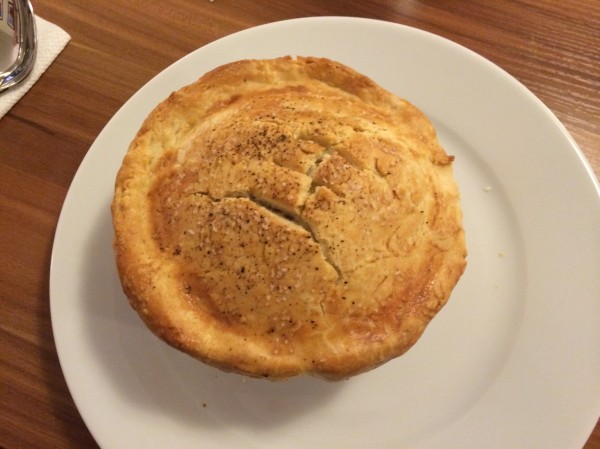
Hearty chicken and vegetables surrounded by a flaky, buttery, crust…what could be better?

image (2)

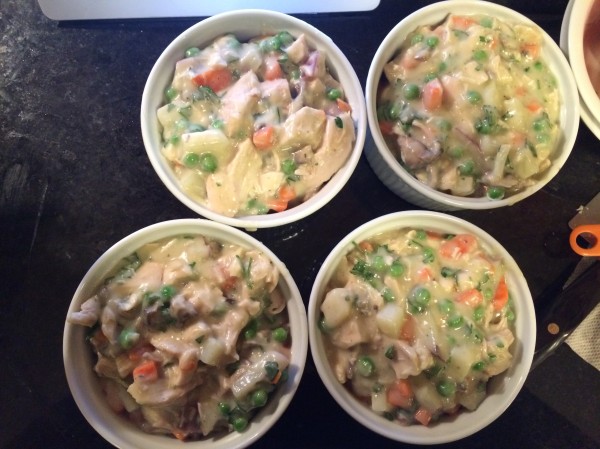
I played around with a few recipes and came up with a perfect filling combo for these pies. I love onions, but I have a very strong intolerance to them so I wanted to try to make the pies without onion and with other flavorful ingredients and dare I say that these pies were better and more flavorful than any onion-filled pot pie I’ve had before!

image_1 (2)

I made the pastry from scratch, though store bought puff pastry would also work well. This pastry recipe was pretty easy, compared to some others I’ve seen. It’s fun to make the dough from scratch and I urge you to do the same!

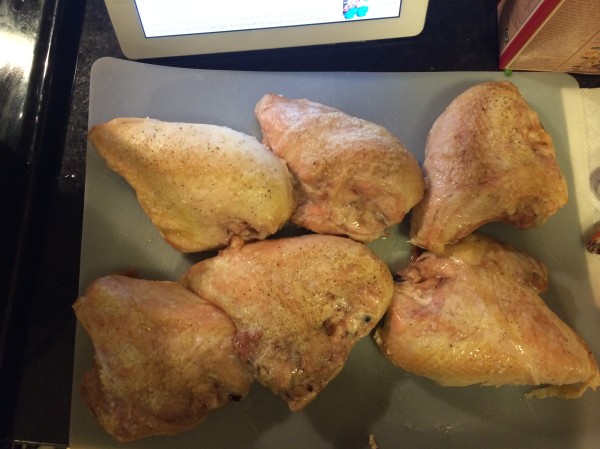
I also roasted bone-in skin-on chicken breasts instead of buying rotisserie chicken or boneless chicken and the meat was tender, juicy, flavorful, THE BEST.

image_2 (2)

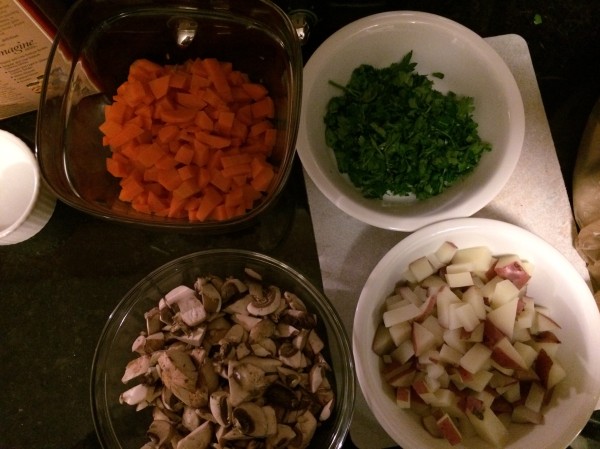
For the vegetable filling I used baby bella mushrooms, carrots, peas, red skin potatoes, and parsley.

image_3

This recipe isn’t very challenging (especially if you use store bought pastry), but it certainly is time consuming AND well worth it!

image

Make a special someone in your life very happy and cook this for them this weekend. You will not be sorry.

image_1

Individual Chicken Pot Pies

Adapted from Ina Garten

Makes: 4 pies

Ingredients:

For pastry:

3 cups all purpose flour

1 1/2 tsp kosher salt

1 tsp baking powder

1/2 cup vegetable shortening

1/4 lb (1 stick) cold unsalted butter, diced

2/3 cup ice water

1 egg beaten with 1 tbsp water (for egg wash)

kosher salt and freshly ground black pepper for topping

For pie filling:

6 split chicken breasts, bone-in, skin-on

3 tbsp extra virgin olive oil

Kosher salt, freshly ground pepper

5 cups chicken stock

2 vegetable bouillon cubes

12 tbsp (1.5 sticks) unsalted butter

2 cups sliced baby bella mushrooms

3/4 cup all purpose flour

1/4 cup heavy whipping cream

2 cups finely chopped carrots

2 cups frozen peas

1 1/2 cups finely chopped red-skin potatoes

1/2 cup minced fresh italian flat-leaf parsley

Preheat oven to 350.

Prepare chicken: Place chicken on baking sheet and rub with olive oil. Sprinkle salt and pepper generously. Roast until fully cooked through with an internal temperature of 165 degrees F, 35-50 minutes. Set aside for about 10 minutes to cool and then remove meat from bones and finely chop meat.

Make pastry dough: In a food processor, add flour, salt, and baking powder and mix. Add the shortening and butter and using your fingers, incorporate into the flour until each piece of the shortening and butter is coated with flour. Pulse the food processor about 10 times, until the fat has dispersed into the flour. Turn on the food processor and with the motor running, add the ice water and mix until the dough just comes together. Pour dough onto floured cutting board and knead very quickly into a ball (you do not want the dough to warm up too much). Wrap in plastic and let rest in fridge for at least 30 minutes.

Prepare vegetables: Blanch carrots (already chopped) for 2 minutes. For tips on how to blanch, click here. Use the same pot of water used for the blanching to boil potatoes (already chopped) for about 5 minutes.

Prepare filling: In a small sauce pan heat the chicken stock and let the bouillon cubes dissolve in the stock. In a large pot or preferably a dutch oven, melt the butter and saute the mushrooms for about 5-8 minutes, until mushrooms  are tender. Add the flour and cook over low heat, stirring the entire time, for 2 minutes. Add the hot chicken stock to the pot. Simmer over low heat for another minute and stir as sauce thickens. Add 2 tsp salt, 1/2 tsp pepper, and heavy cream. Add the chicken, carrots, peas, mushrooms, potatoes, and parsley. Mix well.

Preheat the oven to 375 degrees.

Assemble and cook pies: Divide the filling equally among 4 ovenproof ramekins/bowls. Divide the dough into 4 pieces and roll out each piece to be just larger than the circumference of the ramekin. Brush the outside edges of the ramekin with the egg wash and place the rolled out dough on top of each of the ramekins. Crimp the dough with your fingers to stick to the edges and it’s okay if it hangs a bit over the edges (this actually gives the pie a nice rustic look). Brush the dough with egg wash and make 3 slits in the top. Sprinkle with salt and pepper.Place on a baking sheet (or if your baking sheet is too small, place baking sheet under pies to catch spills) and bake for 1 hour.

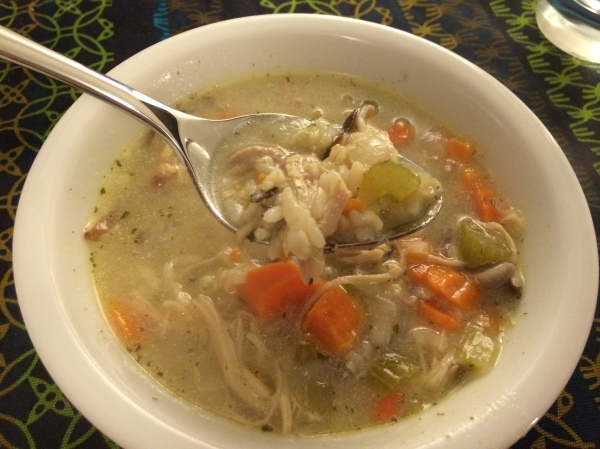
Creamy Chicken and Rice Soup with Shiitake Mushrooms

‘Tis the season for soup! It’s cold out there.

2013-11-04 16.50.59

I actually made this soup a few weeks ago, but it has been very busy around here so I am just now getting to blog about it.

2013-11-04 15.42.24

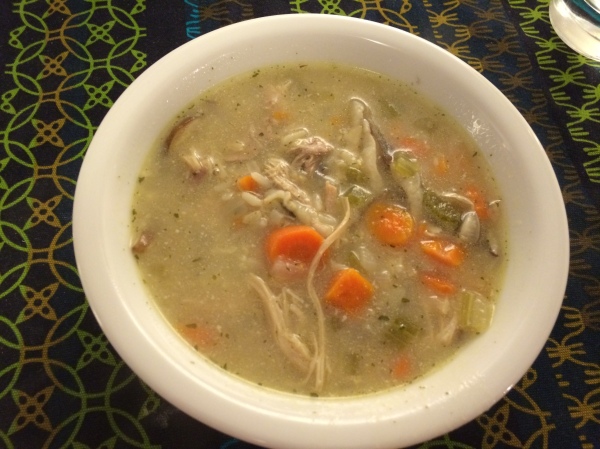
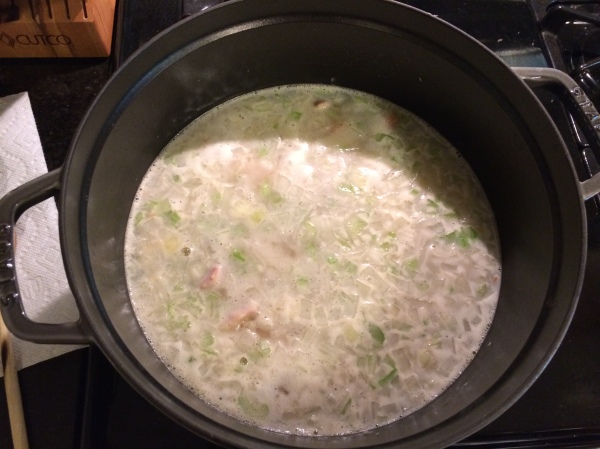
This soup was super easy to throw together and is oh so creamy and delicious, warming, soothing, comforting, happy.

2013-11-04 15.54.25

This recipe makes a LOT of soup so we had tons of leftovers since I only serve two people. I froze half of the recipe, and just now moved it into the refrigerator to thaw because poor Casey is very sick with a bad sore throat. I bet this soup will do the trick and make him feel much better!

2013-11-04 16.50.00

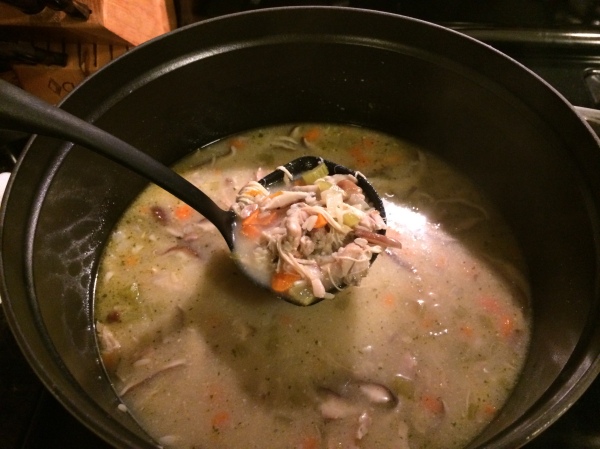
The flavor of this soup is very similar to a chicken noodle, but in my opinion way better. The shiitake mushrooms add a wonderful texture and flavor. The chicken thigh richly flavors the broth. The wild rice adds a nice chewy texture and the carrots and celery add a nice crunch. It’s really really tasty and you can totally make a meal out of it. I think the soup would go great with a crusty bread on the side, but if you want to keep it on the healthy side that isn’t even needed!

2013-11-04 16.51.09

Creamy Chicken and Rice Soup with Shiitake Mushrooms

Adapted from Skinny Taste

Serves: about 8

Ingredients:

1 tbsp unsalted butter

1 yellow onion, chopped

1 tbsp all purpose flour

6 cups low sodium chix broth

3 cups water

2/3 cup chopped carrots

3 garlic cloves, minced

2 celery stalks, chopped

14 oz boneless, skinless chicken thighs (about 4)

4.5 oz long grain rice and wild rice combo (I used Zatarain’s)

1/2 cup brown rice

5 oz shiitake mushrooms, sliced

2 tbsp reduced fat sour cream

Salt and pepper, to taste

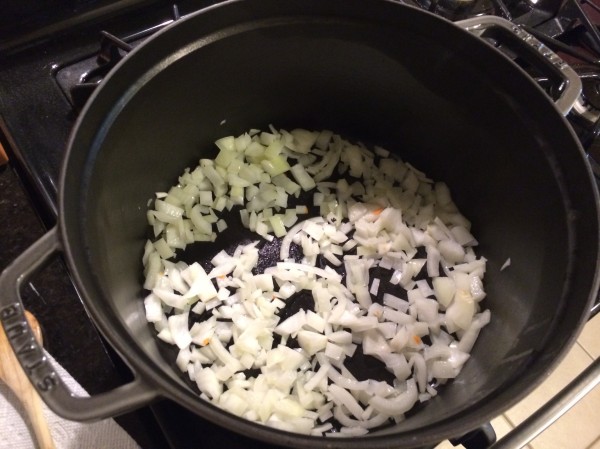
Melt butter in large dutch oven or pot over medium heat. Add onion and cook, stirring frequently until soft but not brown, about 4 minutes. Add flour and stir consistently and cook for a minute. Add broth, water, carrots, garlic, celery, brown rice, and chicken thighs. Cover and simmer for 20 minutes.

Add wild rice mix and mushrooms and simmer covered on low about 25 minutes, stirring every 5 or so minutes.

Remove chicken with tongs and place on cutting board. Shred chicken with forks and then return to pot. Stir in sour cream. Add salt and pepper to taste (I like to add less than more and then if someone wants it more salty, they can add salt onto their individual portion).